
What you'll need:
- PVA glue in a squeezable bottle
- Paper
- Pen/pencil
- Waterpaints
I didn't really know how to describe this workshop. This is a particularly unusual way to create a picture. It came about because I was looking for some ways to make fossils. My son's school sets them a theme each half term for the pupils to do a project on. It is optional but it's a nice idea. This half term the theme is London, which to my son means the Natural History Museum.
So he wants to make a box of fossils. Expect quite a few dinosaur themed workshops in the next few weeks! Now the project should be all the child's own idea. But at this age, it's mum and/or dad who has to figure out how to make their creation actually work.
This idea for a dinosaur fossil picture using glue comes from a fabby blog called Jimmie's Collage.
First you need to sketch out or trace the skeleton of your dinosaur.
We got out my son's big dinosaur book. And of course he decided he wanted his skeleton fossil picture to be a tyrannosaurus rex. There wasn't a t-rex skeleton in the book to copy so we outlined our own bones on tracing paper using the drawing of a t-rex as a model. I say tracing paper, but what I actually use for this purpose is a roll of very cheap greaseproof paper that's meant for baking.
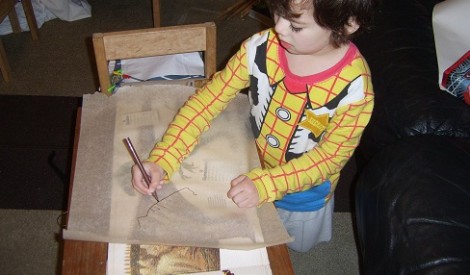
I had to draw one as well, so we had a Mummy T-Rex and a Son T-Rex. For this I used brown felt tip pen, partly so it would show through a bit more and partly because I couldn't find an ordinary pencil. Only the colouring in kind, and these didn't come out very well on the greaseproof paper.
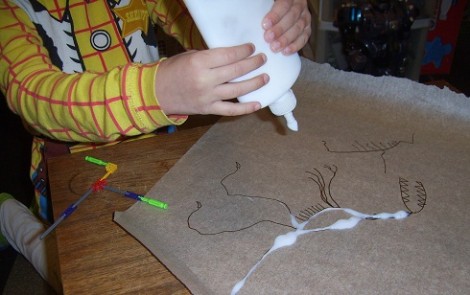
Next the glue. On her blog, Jimmie used PVA glue straight from a squeezy bottle. We did the same, as you can see in the picture at the top of the post. Now, one problem with mine is that this bottle, from the ELC, doesn't have a straight nozzle but one that comes to a point with two holes on each side. This meant that the glue came out initially in big lumps.
The next time we do this (and there will be a next time, my son had fun and so did I!) I'll get a nearly full bottle of glue to use though. This one only had about a third left in it, and that made it too difficult for my son to squeeze out on his own. I had to do that, and that took away some of the satisfaction of doing it for himself.
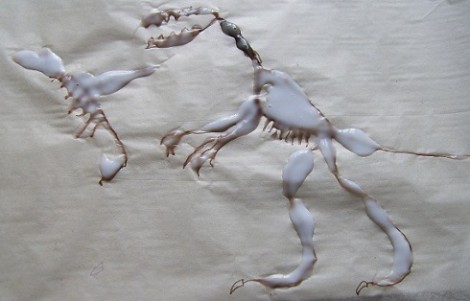
Follow the lines on the paper with the glue. I found it didn't matter if it came out in large globs, with smaller stringy bits, as this actually looked more authentic.
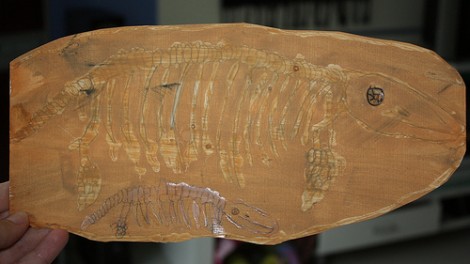
According to Jimmie, you leave it for a day to dry. Maybe it was because I used greaseproof paper, but when I went to paint it after school today, the glue was still a bit wet. So, I would give it a good 48 hours to dry. Jimmie washed her's with pain (see the picture above) and it looked really good.
One effect on ours, possibly a combination of the felt tip and the type of paper used, which I really quite like is that in places, the felt pen has coloured the glue giving it a dirty brown look. Son in particular liked that as it made the 'bones' look even more like real fossils.


Comments